Many years ago in what seems now to have been another life, I made feeble attempts to learn to do tambour embroidery. I did okay with my size 14 crochet hook and open weave linen. But then I had an ambition.
The book had a pattern that I think was supposed to be a doily where the pattern would be mirror imaged for a long rectangle. But I saw it as a purse. I got the fabric, drew out the pattern and then realized the crochet hook wasn't really working with the material. I got frustrated and distracted onto something else.
But I never took the material out of the frame. I packed it away because someday I was going to work it. Someday.
In 2017, the technique caught my eye again when I found some YouTube videos by Robert Haven demonstrating tambour beading. I had to find that piece.
Do you know how happy I am that I got frustrated and distracted that decade ago? At that time I didn't have the skills or know how to do what I've now done. It was waiting for just the right time, just the right motivation to do this.

As I was finishing the tambour embroidery section at my Mom's a few weeks ago, I started trying to see what the purse might look like. During a trip to the local Joann's where the staff and customers were so lovely and helpful in helping me decide colors and materials, I envisioned…well, this!
It's not often that a design happens exactly as I see it in my mind, but in this case it absolutely did. There are a couple of things I would tweak if I could but this is what I saw in my mind.
I didn't like the purse handle to begin with but it was the only one I had or could find that was wide enough to fit and now I love how it works. It's not competing with the pattern, it's just fulfilling its function and staying out of the way. Perfect.
The easiest thing to do with a purse is to ruin the look by how you sew the material into the frame. Again, I decided on subtle. I used the silver glass beads to hide the stitches and carry on the bead scheme and I think it works. So much tidier that visible stitches would have been. It's all hand stitched using silk thread (initially because that's what I had handy) and I couldn't be happier really.
So there you have it. A decade in the making and from my point of view, worth the wait.


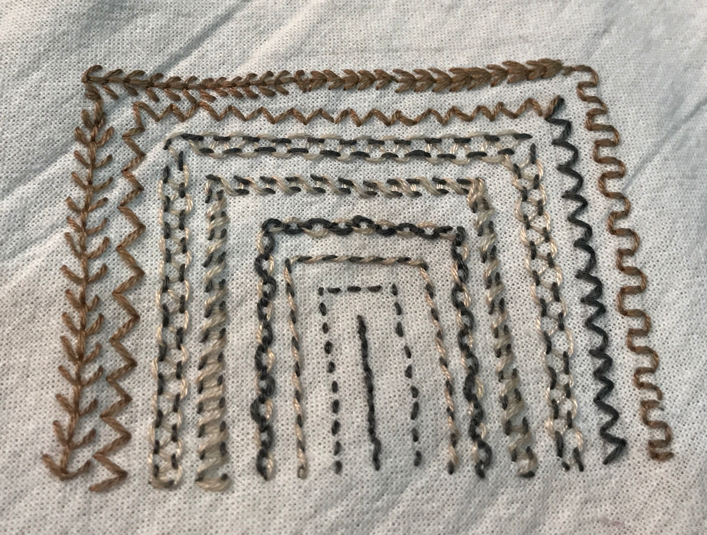


 I really love it and think it's pretty. I also think I almost have a handle on the Scotch Broom stitch (the part that forms the diamonds). But you'll notice that it's quite a long piece for a sample. The reason?

 I really love it and think it's pretty. I also think I almost have a handle on the Scotch Broom stitch (the part that forms the diamonds). But you'll notice that it's quite a long piece for a sample. The reason?


